
How to Rehydrate Your Sourdough Starter
Ready to bring your dehydrated sourdough starter back to life? If you just got yours, let’s get started. We’ll walk you through how to rehydrate it, troubleshoot common issues, and set you up for a strong, healthy starter so you can dive into all things real bread.
What You’ll Need
Filtered water, room temperature
Unbleached all-purpose or bread flour (our favorite heritage flour is here!)
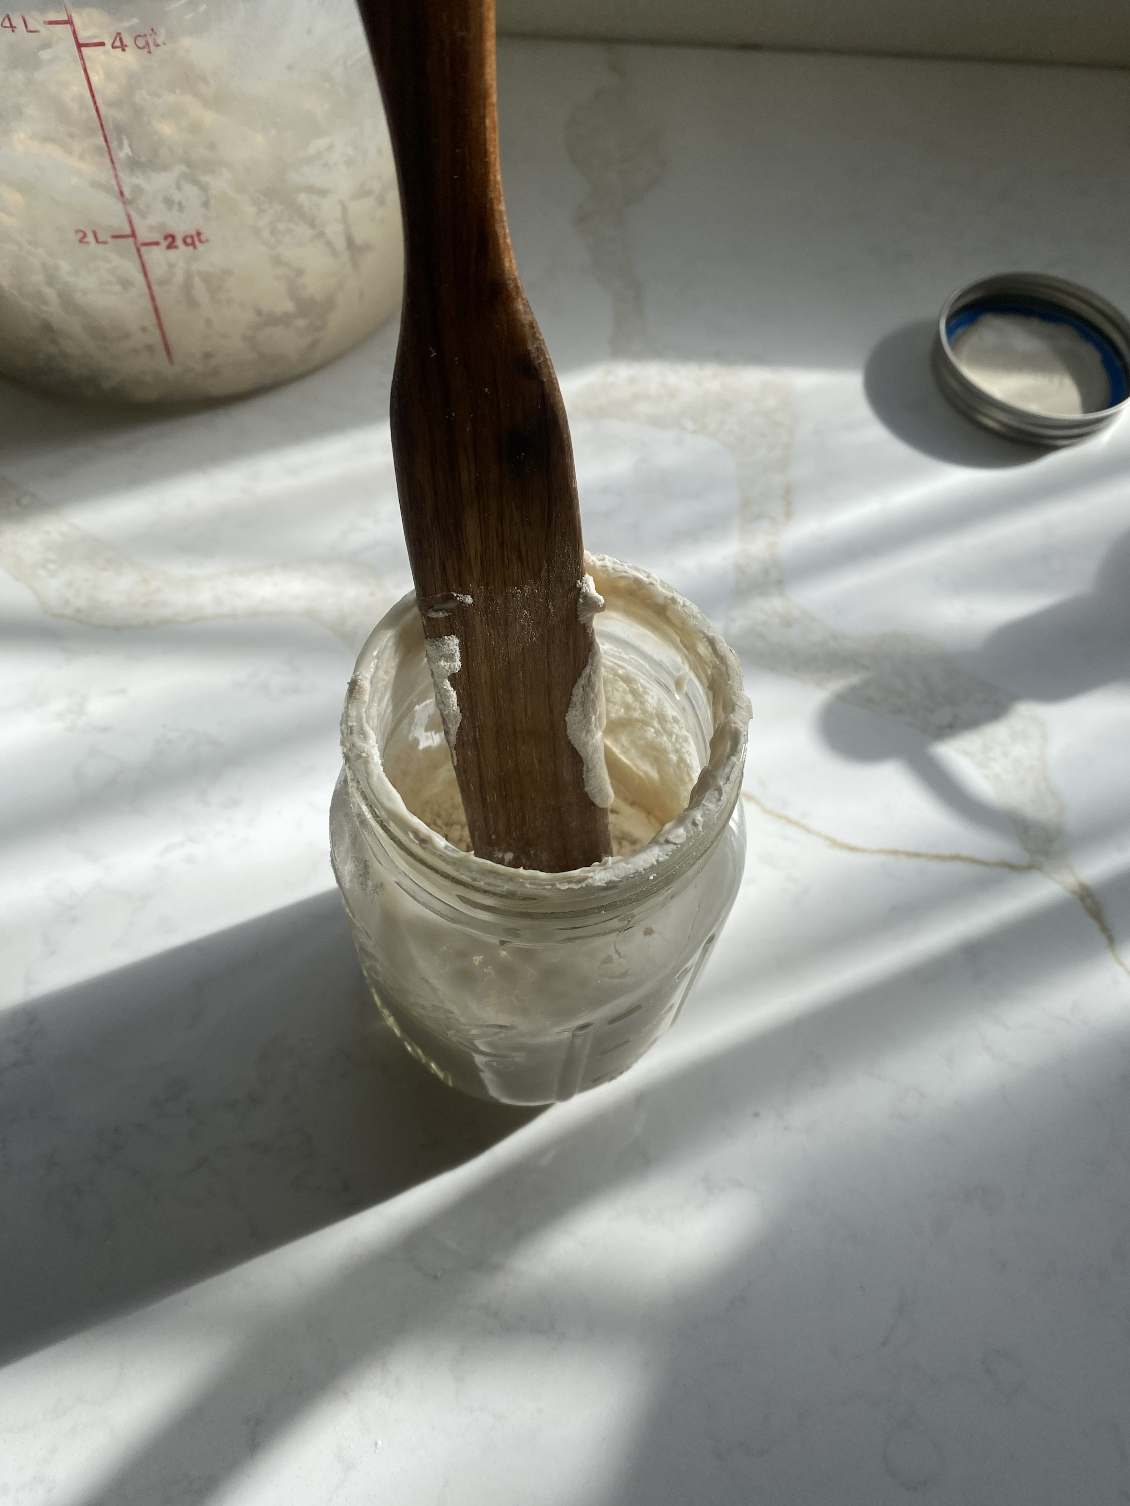
2 jars or container with a lid (at least 1–2 cups capacity, like a quart jar)
Spoon, spurtle, or rubber spatula for stirring
Food scale
Rehydrating Instructions
Day 1 - Morning
Place your jar on the food scale. From your dehydrated starter packet, put 5g in the clean jar.
Add 20g of filtered room temperature water. Stir to break up clumps. The water should cover the starter fully - let the water sit and absorb into the dehydrated starter flakes for a few hours.
Day 1 - Evening
Once the starter has had some time to rehydrate and absorb the water, add 10g of flour to the jar. Stir to combine everything evenly. (Note: using less flour this first time to give the starter a boost of hydration, which aids in beneficial bacteria growth to ferment better. Especially important when rehydrating a starter.)
Cover gently (if using a jar, set the lid on but don’t screw on tight) and let sit overnight.
Day 2
To the jar, add 20g of water and 20g of flour. (We’re not discarding anything yet.) Stir to combine. At this point your starter should look pretty smooth, but you likely won’t see bubbles yet.
Cover loosely and leave at room temperature.
Day 3
At this point you may begin to see some signs of activity (small bubbles in the starter). Again, without discarding, add 20g of water and 20g of flour to the jar. Stir to combine, cover loosely, and leave at room temperature.
Day 4 - Morning
From here we’ll begin with regular feedings. In addition to the jar with starter in it, get out another clean jar. Place the clean jar on the food scale. Take 10g of your starter from the original jar, and transfer it to the new clean jar.
Set the old starter jar aside - what’s left in it will now be discard.
In the new starter jar, add 30g of water, and 30g of flour. Mix evenly. Cover the jar and leave at room temperature.
Day 4 - Evening
Keep an eye on your starter throughout the day. By evening, you should notice it has grown in the jar and see bubbles throughout.
Day 5
Repeat above - discard all but 10g of active starter, add 30g of water and 30g of flour. By now, your starter should be fully active and you should see it at least doubling when at peak, have lots of bubbles on top and under the surface, and have a light and airy texture.
Common Questions
When can I start baking with my starter?
Your starter should revive fully and be ready to start baking with in this first week. Make sure your starter is consistently doubling and you’re seeing the signs that it’s at peak (lots of bubbles, fluffy texture). From there, you’re ready to start baking!
How do I know how much to feed my starter?
There’s quite a few factors that come into play here, but I recommend consistently feeding your starter at at least a 1:3:3 or 1:4:4 ratio (for example, a 1:4:4 ratio would be 10g of active starter, 40g of water, 40g of flour). Higher feeding ratios will help keep your starter strong, while lower feeding ratios (anything under a 1:3:3, in general) will weaken it over time. Feeding your starter at a higher feeding ratio means it will take longer to peak (because you’re giving the wild yeast more “food” to eat through).
At the same time, temperature will affect your starter activity and fermentation - cooler temperatures slow fermentation, warmer speeds it up. These two factors go hand in hand, so you need to take everything into account and plan ahead from there.
If you want to level up your sourdough…
Check out our full Sourdough Starter Kit, or sign up for updates on upcoming sourdough workshops right here.